We love using ActiveCampaign for our marketing emails, and it’s one of the email tools we often recommend for our clients. A great marketing strategy looks at all available data to evaluate results, so we make sure to always turn on UTM tracking for any emails that are sent.
Some tools, like Klaviyo, make this easy. You can set it up once for the entire account, and all emails and automations will send campaign names, source, and medium to Google Analytics.
In ActiveCampaign, you have to remember to turn this on for every single campaign you send and every email included in any automation. ActiveCampaign has instructions for their Google Analytics Integration here, but if you’re a visual learner like me, you might prefer to see some screenshots with these steps.
Here’s how it looks in a standard email campaign:

- Open the campaign to which you need to add tracking.
- As you create your email, you’ll come to the email’s Summary page. Scroll down to the options section.
- Click the Google Analytics toggle to set it to the On position.
- Note: If it is grayed out, it means you don’t have a link anywhere in your email. You can edit the email on the Design page.
- After you toggle Google Analytics On, a window will pop up and you can set the campaign name. This is what will show up in Google Analytics in the Campaign dimension. It will default to whatever you have internally named the email within ActiveCampaign; this is usually fine as long as it’s informative internally and also unique.
- In Google Analytics, your Source dimension will be either “ActiveCampaign” or “Newsletter” depending on whether you’ve turned branding on or off for your account.
- The Medium dimension will be “email.”
- The Ad Content dimension will be the email’s subject line.
- Click “Done.”
Here’s what to do for automations:

- Open the Automation to which you want to add Google Analytics tracking.
- You will need to open and edit each email within the automation. Repeat the following steps for each email:
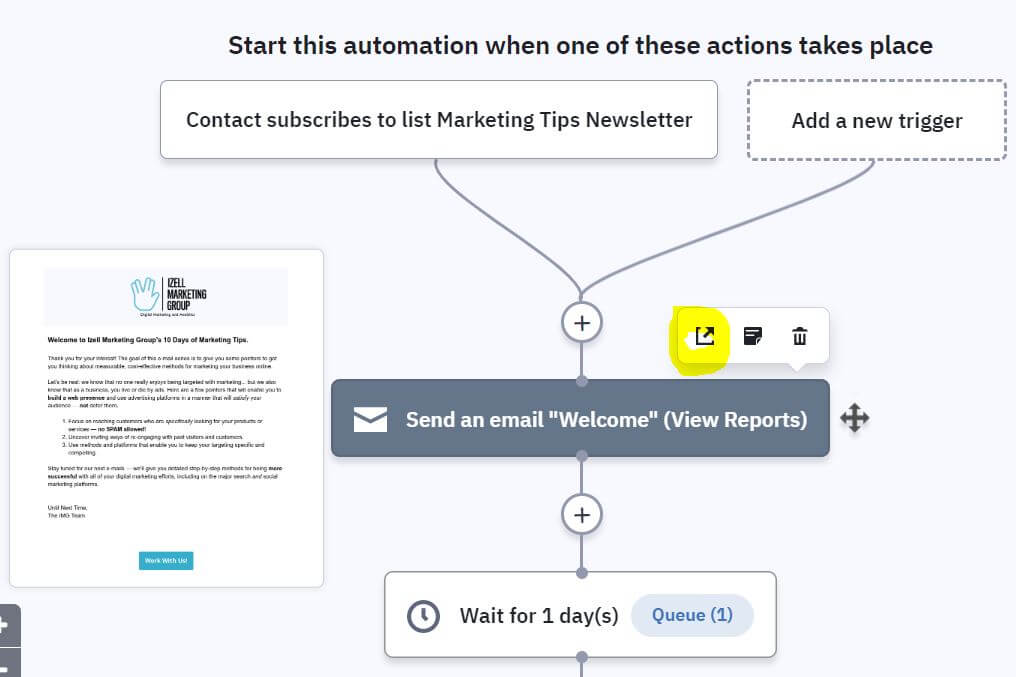
- Hover over the Send an Email action within the automation.
- Click the edit email icon that appears to open the editor for that email.
- Click Next to proceed to the Campaign Summary page for the automation email.
- Click the Google Analytics toggle to set it to the “On” position.
- Note: If it is grayed out, it means you don’t have a link anywhere in your email. You can return to the email editor by clicking Previous.
- After you toggle Google Analytics On, a window will pop up, and you can set the campaign name. This is what will show up in Google Analytics in the Campaign dimension. It will default to whatever you have internally named the email within ActiveCampaign; this is usually fine as long as it’s informative internally and also unique.
- In Google Analytics, your Source dimension will be either “ActiveCampaign” or “Newsletter” depending on whether you’ve turned branding on or off for your account.
- The Medium dimension will be “email.”
- The Ad Content dimension will be the email’s subject line.
- Click Save and Exit. Repeat for all other emails in the automation.

And that’s it! Make sure you don’t miss this quick setting to enhance the tracking on your email results.


